Christmas is only 48 days away! I cannot wait! Christmas is my FAVORITE holiday. I am one that puts up the trees and listens to Christmas music way too early. I just get giddy about the holiday. I am rubbing off on my kids too as they have been singing Christmas songs and keep asking when we can put the tree up.
The holidays get hectic for me. The older the kids get the more holiday events we attend. I need to be organized in order to have a stress free holiday. I have been using a Holiday Planner for 4 years now. My first year I used one from Organized Christmas. They had several different types of planners with several free printables. Year two I used some of my printables from Organized Christmas and made a few of my own. Year three I found several bloggers with free holiday printables and pick various forms that suited me, but I hated that they didn't all match or have a theme. This year I thought I would create my own based on the past three years printables. Well time was getting the best of me so I went in search of a Christmas Planner in blog land.
The angels began to sing when I visited one of my absolute favorite bloggers, A Bowl Full of Lemons!!! Toni has created the most amazing holiday planner with everything you need to stay organized this Christmas! She does charge a minimal fee for her planner but it was worth every penny spent!
My planner set-up
I print all my pages on white card stock because it is more durable then regular paper and I love to use Sharpies! The card stock prevents the bleed thru from the pens. I purchased a three ring binder, printed my cover page, and slapped it in. I was already happy!
The very next thing in my planner is my calendar. I have a calendar for November and December. The calendar helps me plan out when I am decorating, all our holiday events, when the kids are on holiday breaks and more. I downloaded my calendar from Eli Blog. You can get it here.
I just loved how they had that Subway Art feel to them.
The next item in my planner is just a 3 hole punch poly pocket to keep loose items in. I put coupons, Christmas lists, notes and more in there. I also put two envelopes in the pocket to hold my gift receipts and shopping receipts. I even gave the front of the envelopes a Christmas feel - it makes me smile when I pull them out! I then put tabbed dividers in and used my label maker to label each tab.
Tab One:
My first tab in my planner is my shopping tab. I love how Toni's holiday shopping list is set up. There is are so many more items to purchase then just gifts at Christmas. I now have a place to jot down any new decorations I need to pick up, Christmas card items, wrapping items, and a spot for miscellaneous items to purchase. I then have her Black Friday shopping form. I usually go shopping on black Friday (more for the fun then anything) but I now have a spot to jot down the store, the item I need, the price, and the time frame to get the item. So important to stay on task on that big shopping day! I use her Gift Giving list to keep track of those non-family gifts to give - teachers, neighbors, friends.
Tab Two:
The second tab is my budget for gift buying. My husband and I sit down every Christmas and set our budget for each family member, each other, our kids and non-family gifts. This tab is huge to me. It keeps me on budget and also gives me a place to keep track of gifts bought.
Tab Three:
The third tab is lists. The My Christmas Wish List form is a great way to let people know what your number one item is, things you want versus things you need, sizes, and more. I added a gift card list for stores that I love gift cards from too. I will also punch in the list I get from others for reference.
Tab Four:
The fourth tab is my events tab. Toni has a wonderful way to keep track of all those events to take the kiddos to around the holidays. Whenever I receive an email or find an event that we might want to go to I jot it down. I missed out on a Groupon last year for an event that I would have loved to take the kids to!
Tab Five:
The fifth tab is food! Now I occasionally host a Christmas dinner, but I will be using the Holiday Menu Plan for any event that I will be hosting during the holidays. It breaks the meal down by course and I love that it gives a spot for preparation date. There are so many things you make the day or night before your event that you need to have a plan for. I also love there is a grocery list sheet too!
Tab Six:
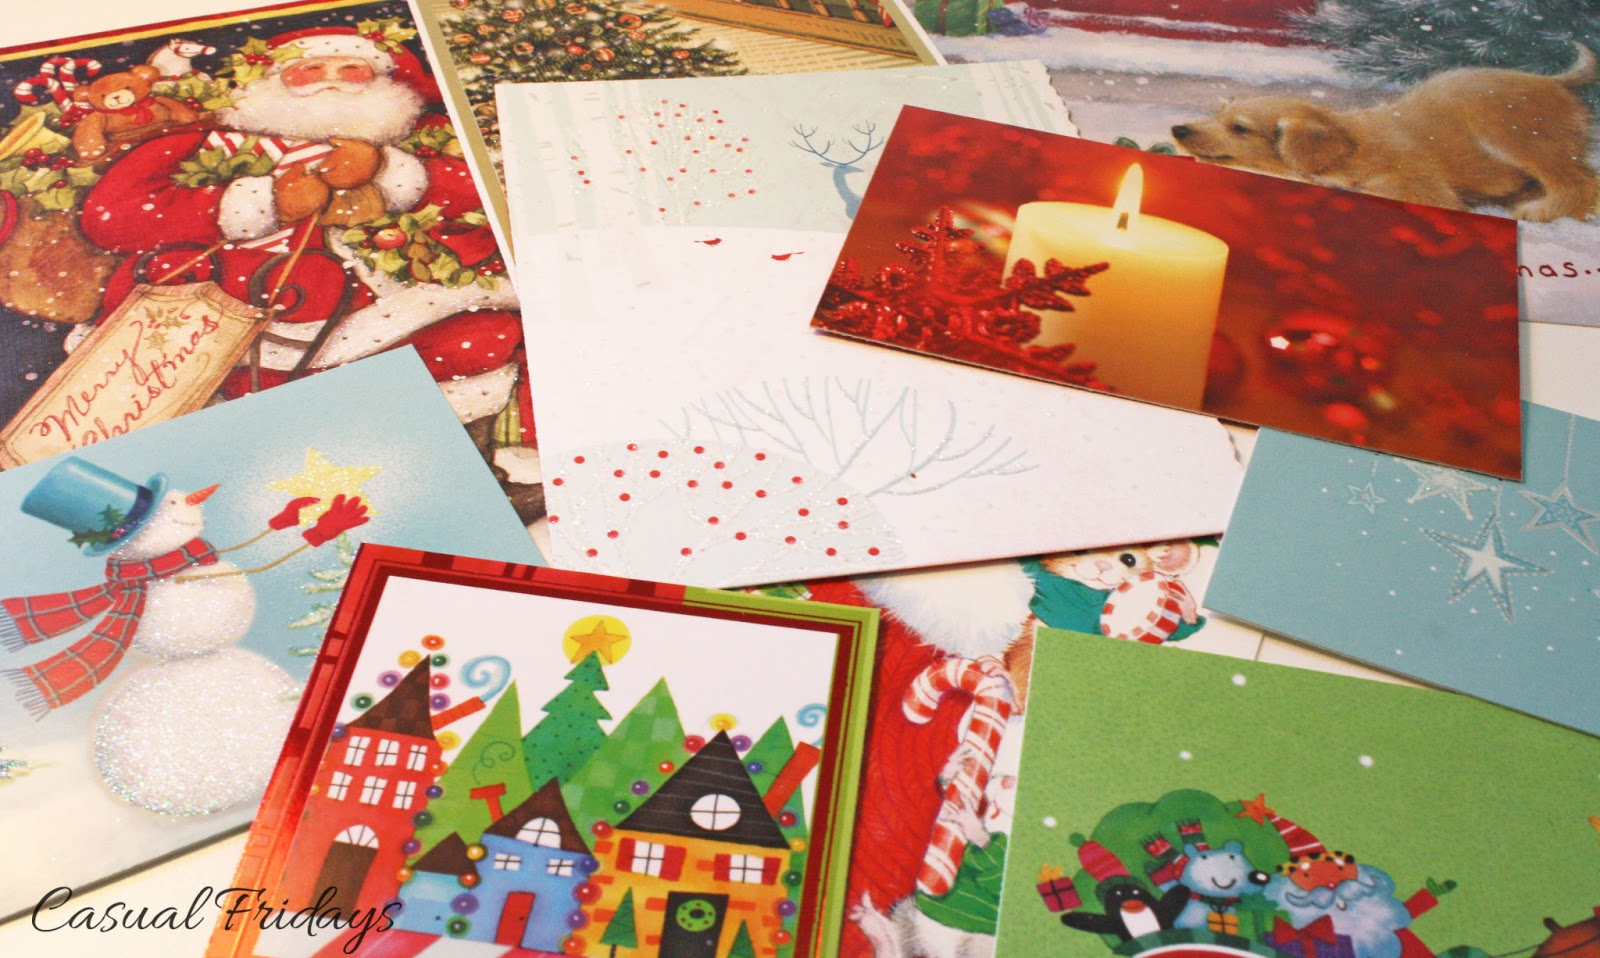
The sixth tab is my Christmas card list. In the past I have used a list that you are able to keep track of who you sent/received cards from for 2 to 4 years. The problem I had with that is my list is always changing. I like that Toni's is a one year deal mostly because I am anal and hated messing up my list if someone moved, lost touch, divorced, or whatever the reason may be for not sending a card the next year. You know......I like things to look pretty!!
I am a planner - I always work better when I make a plan! To find out more on Toni's awesome holiday planner or to purchase it click HERE. Happy Holidays!!


